Hello,
Today, I'm stepping away from drawing and sewing to bring you a great tutorial for kids, the thumb piano.
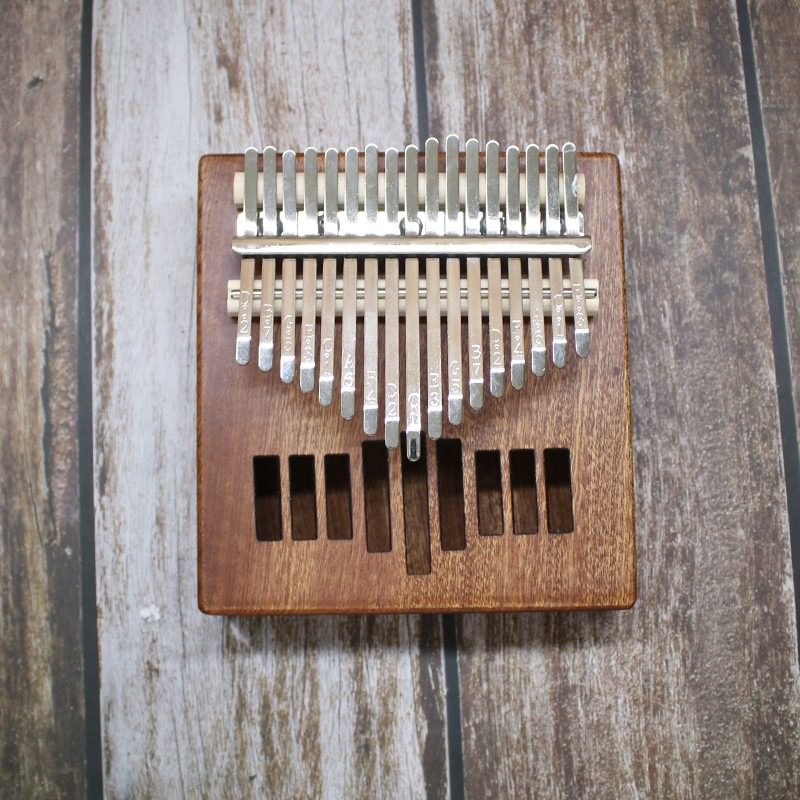
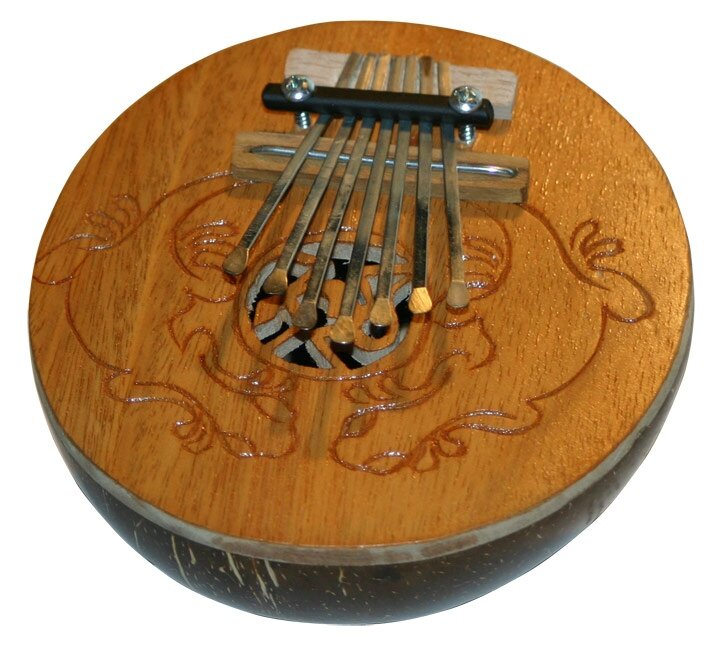
A little history... The thumb piano is a percussion instrument of African origin widely used throughout the continent, as well as in Cuba and the Caribbean. It is called Kalimba, Mbira or Sanza depending on the country. It is a lamelphoneIt consists of a series of metal slats and a wooden resonance box, such as a pumpkin or coconut.


For this tutorial, I've imagined a simplified version of the instrument that requires a minimum of hardware, but retains a pleasant sound.
Get ready, let's go!
Tutorial: the thumb piano or Kalimba
Equipment for a thumb piano :
-
A wooden stick (kebab type)
-
Forks in various sizes
-
Felt pen or paint
-
A hot glue gun
-
A pair of wire cutters or a box cutter

steps:
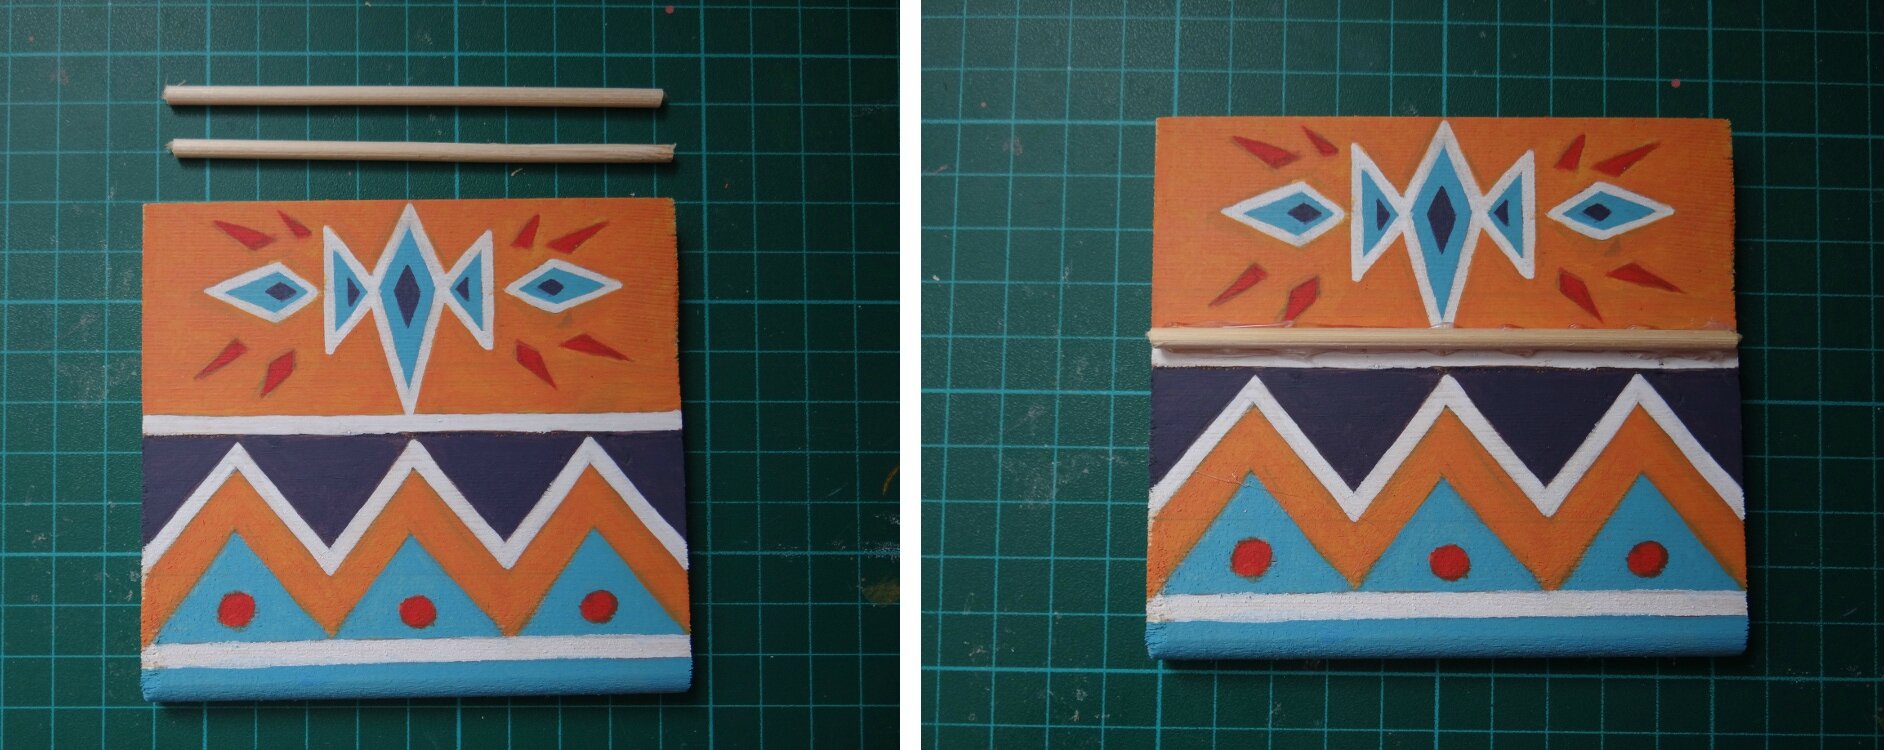
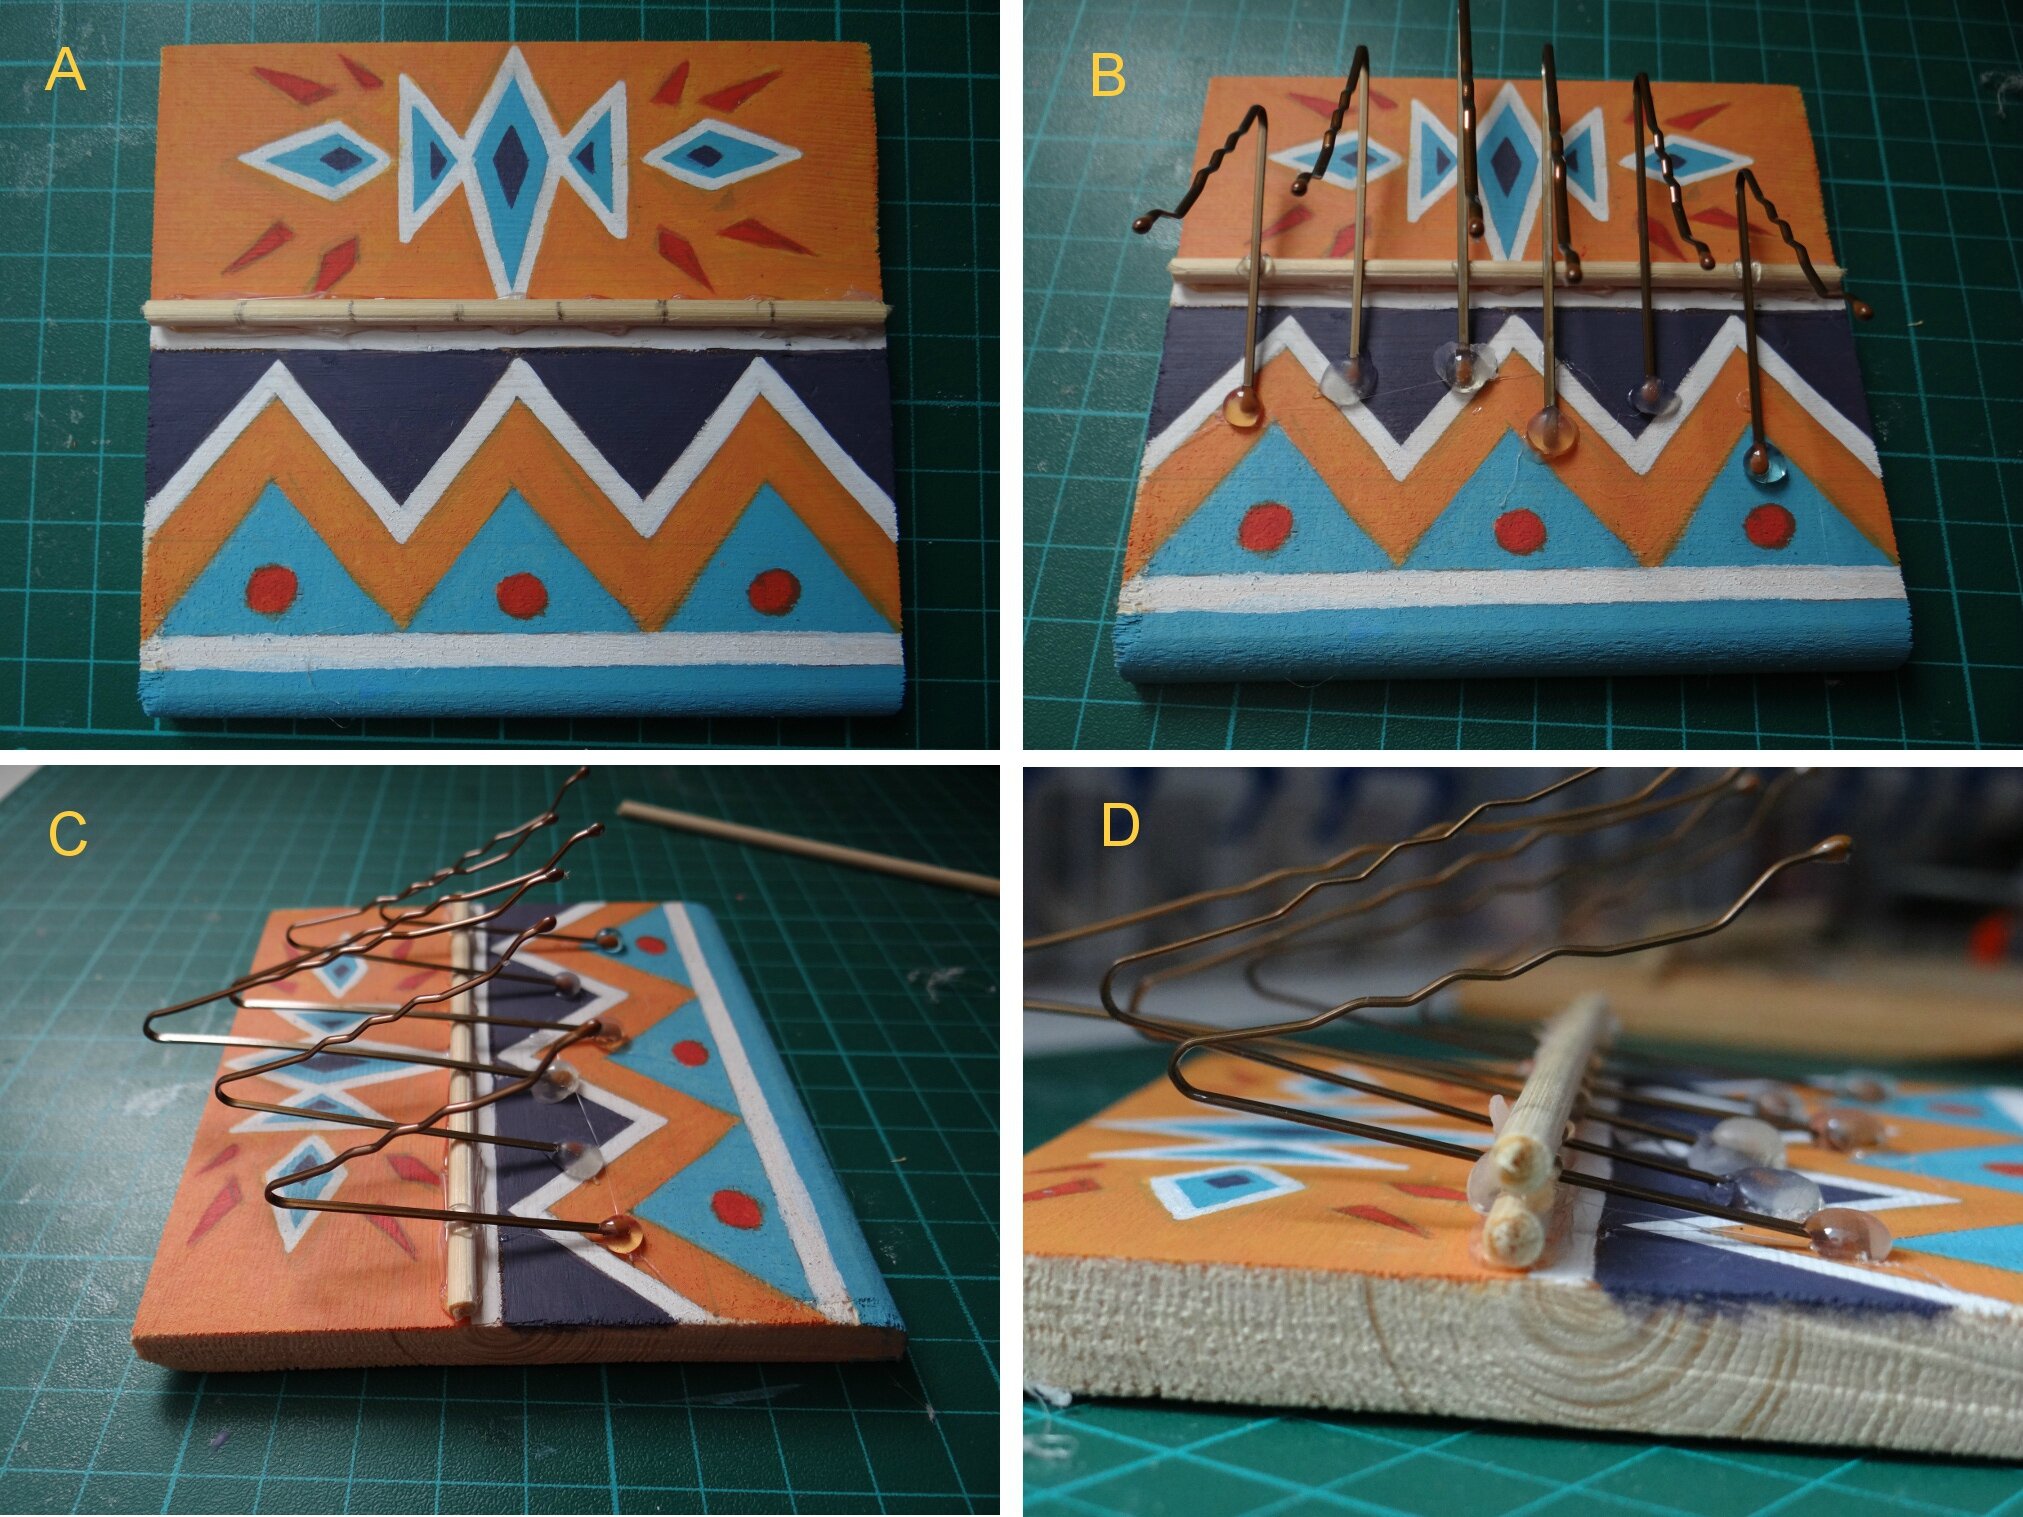
1. Paint the top of the picture according to your preferences. Here, I've chosen geometric patterns. NB: beforehand, you can sand the board so that the faces and edges are smooth.

2. Cut two pieces the width of your board on the wooden stick. Glue the first section to the middle of your table. This will act easel for forks.
3. Open the forks to form an angle of about 45°. Here, I've used 6 forks (2 small, 2 medium and 2 large) to make the thumb piano staff.

4. Mark the pin locations, spacing them evenly (A).
Glue straddle pins to wooden stick (B) and (C). Vary the sizes to obtain a variety of different sounds. Larger blades will produce a lower-pitched sound, shorter ones a higher-pitched one. Nb: Feel free to try out the sound before staying permanently. The larger blades are traditionally placed in the center and the shorter ones on the outside, but they can also be placed from highest to lowest or vice versa.
Glue the second rod to the first. by pressing hard Pinch the pins between the two (D). NB: It's essential that the pin is held between the two bars and at the base to avoid an unpleasant "crackle" and obtain a clear, pleasant sound. If this is not the case, add more glue until the sound is good.
5 Play! Gently press the pins to make them vibrate. The vibration spreads across the wooden board and creates a sound.
You can even use different containers (glass, bowl) and place the instrument to obtain a resonance box and modify the sound. A very easy and fun experiment to create and place the corner of the instrument in a window. The glass amplifies the Kalimba's vibration and acts as a loudspeaker! It's up to you to have fun with the sounds, trying out different materials: wood, metal, etc.
I hope you've enjoyed this tutorial.
See you soon for new experiences!
By mine
[ad_2]
Source link
Have you made your Kalimba yet? Here's a tutorial to get you started! How to play Kalimba? Techniques and tips!